I always wondered how some macro photographers achieved amazing dept of field in their images. I discovered one way they accomplish this is by combining multiple images to create one sharp image. I experimented with it for the first time tonight using some of my old BYU WAC Championship and Holiday Bowl rings as my subjects.
This is the final product of my Photo Stacking efforts.

Here is what I did.
Using a tripod, I took multiple images of my subject adjusting the focus slightly for each image. My goal was to have every part of my subject in focus in at least one of the images. I want Photoshop to be able to pick out the sharpest parts of each image and combine them into one.
Once I had all my images on my computer I did the following in Photoshop:
1. Opened all the files of the series in Photoshop.
2. On File menu I selected “Automate” and then chose “Photomerge”
3. Clicked the “Add Open Files” button
4. Made sure “Blend Images Together” “Vignette Removal” and “Geometric Distortion Correction” were NOT checked
5. Set the Photomerge option to Auto
6. Pressed “OK” and Photoshop combined and aligned all the images into a single file.
7. With my new image on the screen I selected all the layers in the Layers Palette.
8. From the Edit menu I selected “Auto Blend Layers”
9. On the Auto Blend Layers menu I chose “Stack Images” and pressed OK
10. Photoshop did all the work.
11. From the resulting image I flattened and saved as JPEG.
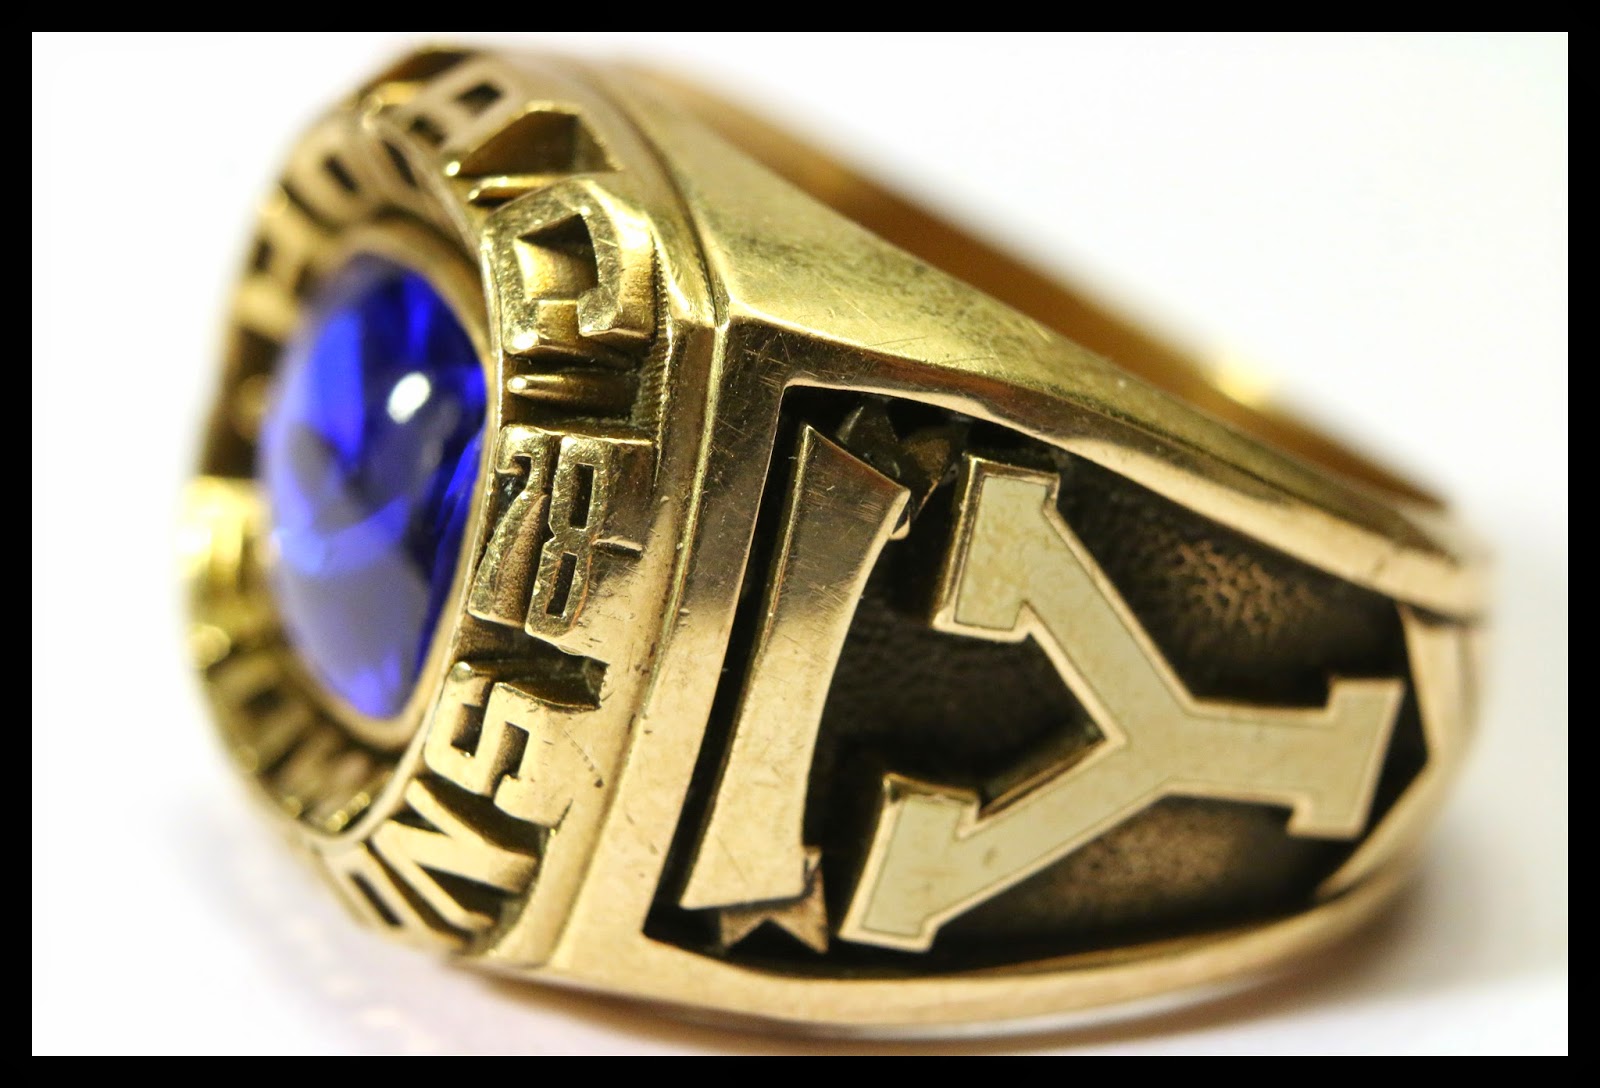
This is one of the many files I used in creating the final product above. As you can see the focus is on the front of the ring with the back remaining out of focus. This is generally what all my macro pictures looked like before I learned about Photo Stacking.
Here is a more subtle example:
Without Photo Stacking:

With Photo Stacking:

I think the results are worth the effort when depth of field is important.
No comments:
Post a Comment